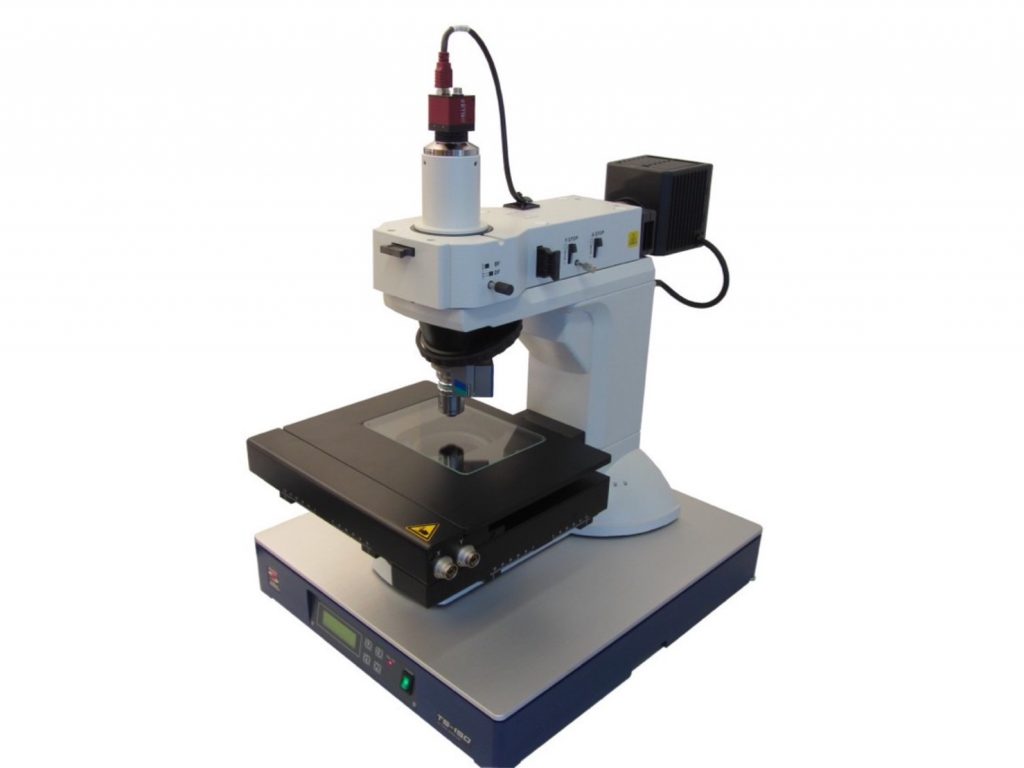
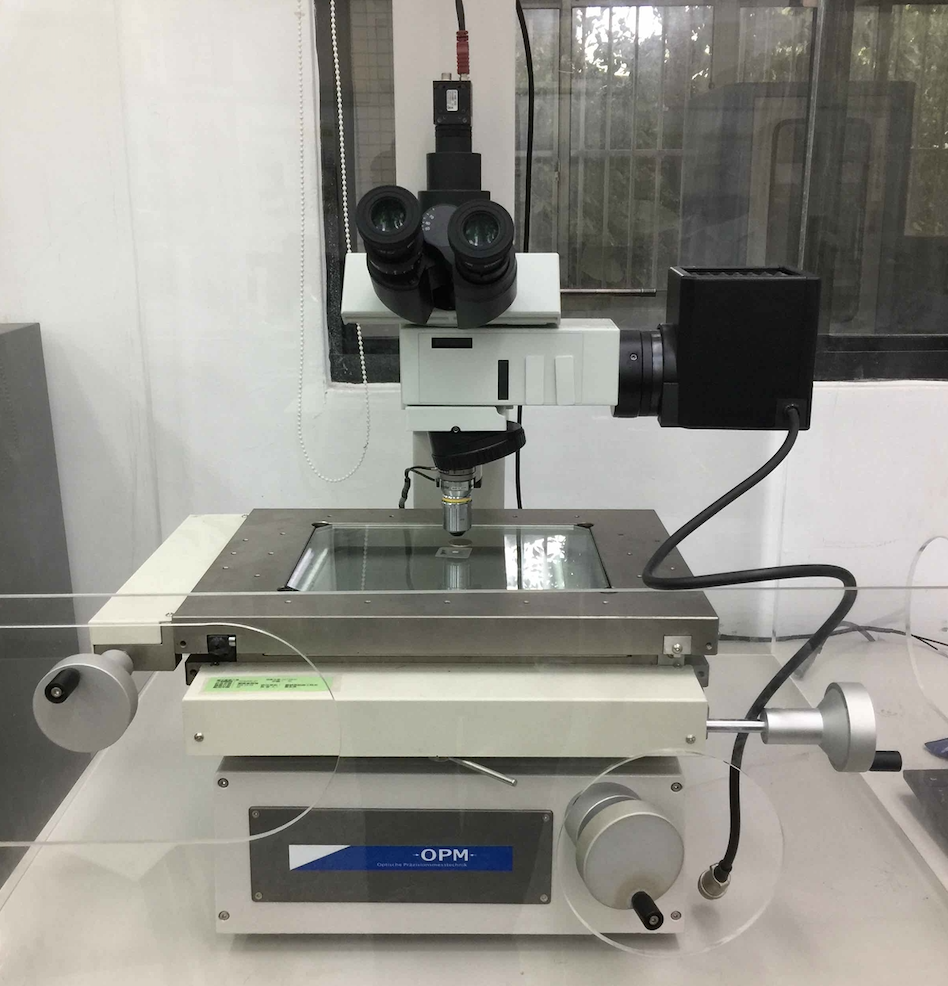
Can be expanded to metallographic or tool microscopes
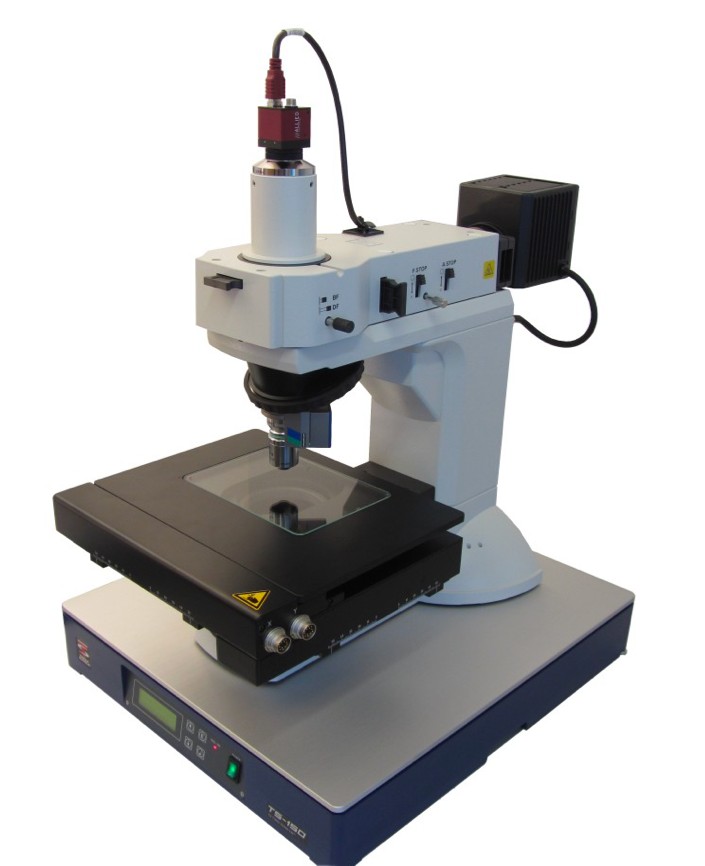
Optional stage and anti-vibration table
A single lens can measure 3D contours of shapes
Quite an affordable option
Can be expanded to metallographic or tool microscopes
Optional stage and anti-vibration table
A single lens can measure 3D contours of shapes
Quite an affordable option


1. Available on Olympus, Nikon, Leica and other metallographic/tool microscopes.
White light interference sensing elements are installed on the lens and C-mount. It is upgraded to a 3D white light interference measuring instrument.
2.Light source: high brightness photoelectric tube 505nm
3.CCD analysis: Standard: 780×582 pixels, 48fps (Wire Fire)/Optional: 1280×1024 pixels, 169 fps (USB3)
4.Z-axis measurement range: 100, 250, 400um optional
5.XY measurement area: Depends on the lens
6.Z-axis measurement accuracy: Depends on the installation of interference objective lens and measurement range
5X objective lens: 1nm /10X objective lens: 1nm/ 20X objective lens: 0.3nm/ 50X objective lens: 0.3nm/ 100X objective lens: 0.1nm (the above is 400um)
7.Software functions: microstructure profile, surface roughness, coating thickness
2D and 3D dimensions and image display, report output function.
8. Optional: XY electric platform, puzzle software stitching function
9. Optional: XYZ electric platform, fully automatic measurement function
10. Optional: Active anti-shock table (pictured)
Mainly used for academic research, RD, laboratory and other analysis purposes
Existing microscopes or tool microscopes can be expanded
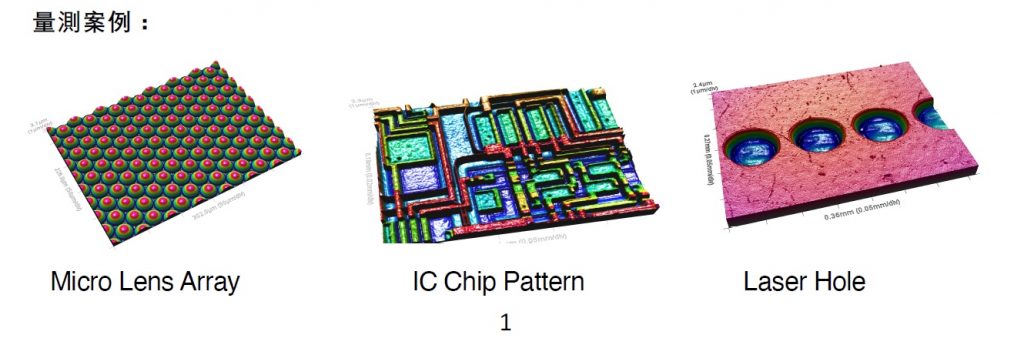
Through software analysis, functions such as 3D images, micro-structure height measurement, film thickness measurement, and optical roughness measurement can be obtained.
The picture below shows the configuration of the actual case


Lens resolution
5X objective: 1nm / 10X objective: 1nm/ 20X objective: 0.3nm/ 50X objective: 0.3nm/ 100X objective: 0.1nm
(Z-axis 400um scanning range)
Software functions: microstructure profile, surface roughness, coating thickness
2D and 3D dimensions and image display, report output function.
