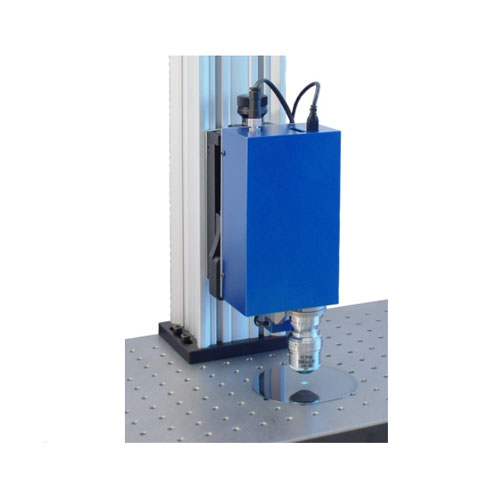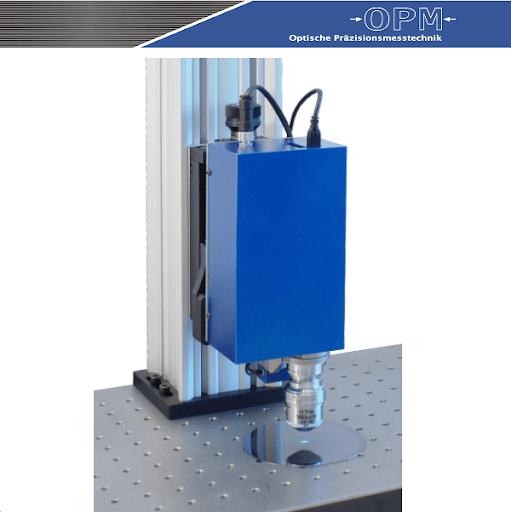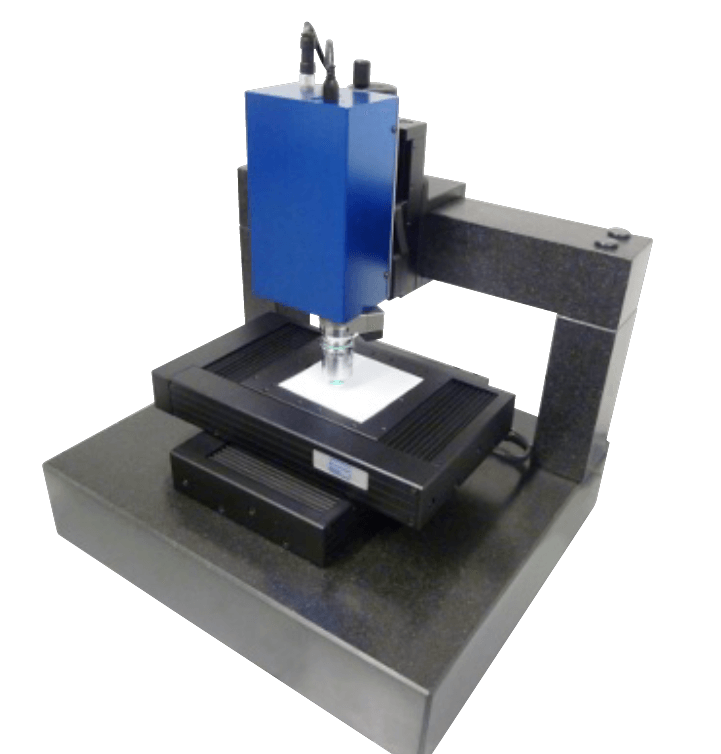
High quality white light interferometer made in Germany
Features:
1. 3D surface observation of microstructures for various material products
2. Z-axis 3D PROFILE measurement of small structures
3. Non-contact roughness measurement
4. Can measure the surface structure of different reflectivity and transparent materials
5. Z-axis analysis accuracy 1nm – 0.1nm
6. It can be installed in specialized equipment institutions according to the size of the product.
3D scanning principle
white light interferenceWhite Light Interferometry:
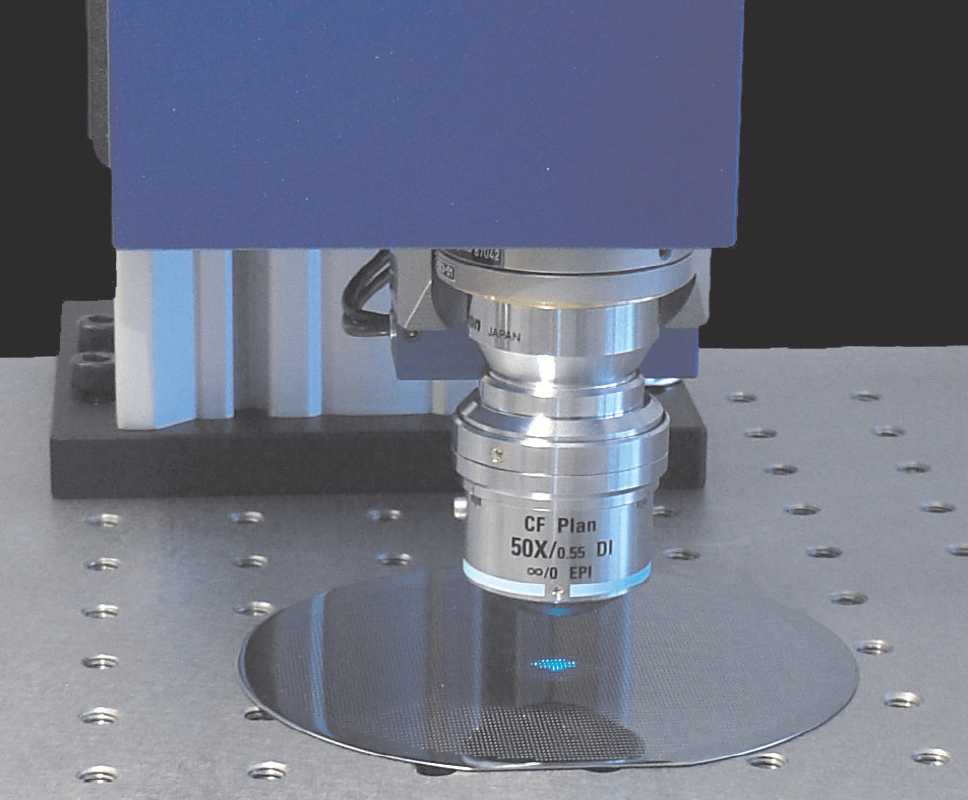
Pass a light source of a specific wavelength through a flat or convex mirror (DI objective lens)
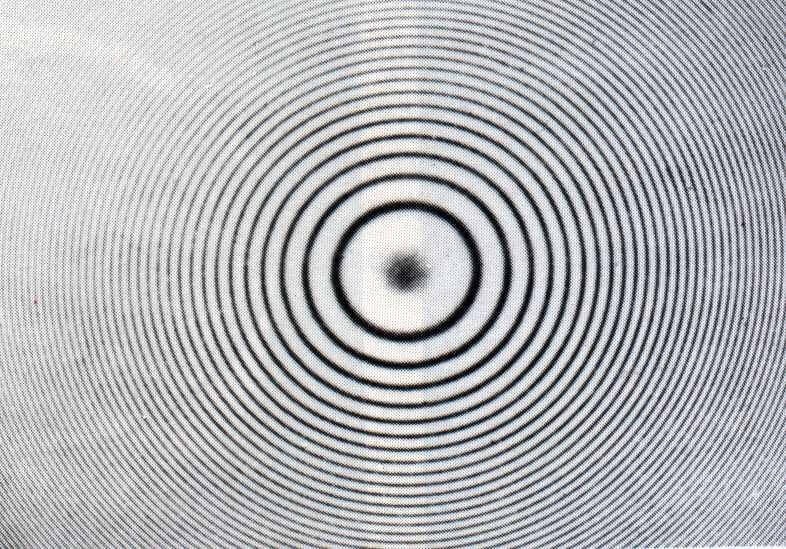
Two reflections through the object produce "Newton rings" (also called interference fringes).
Its Z-axis upper and lower limit range scanning definition principle
Use the generation of interference fringes as the focal length judgment value


Can be equipped with interference objectives with different magnifications
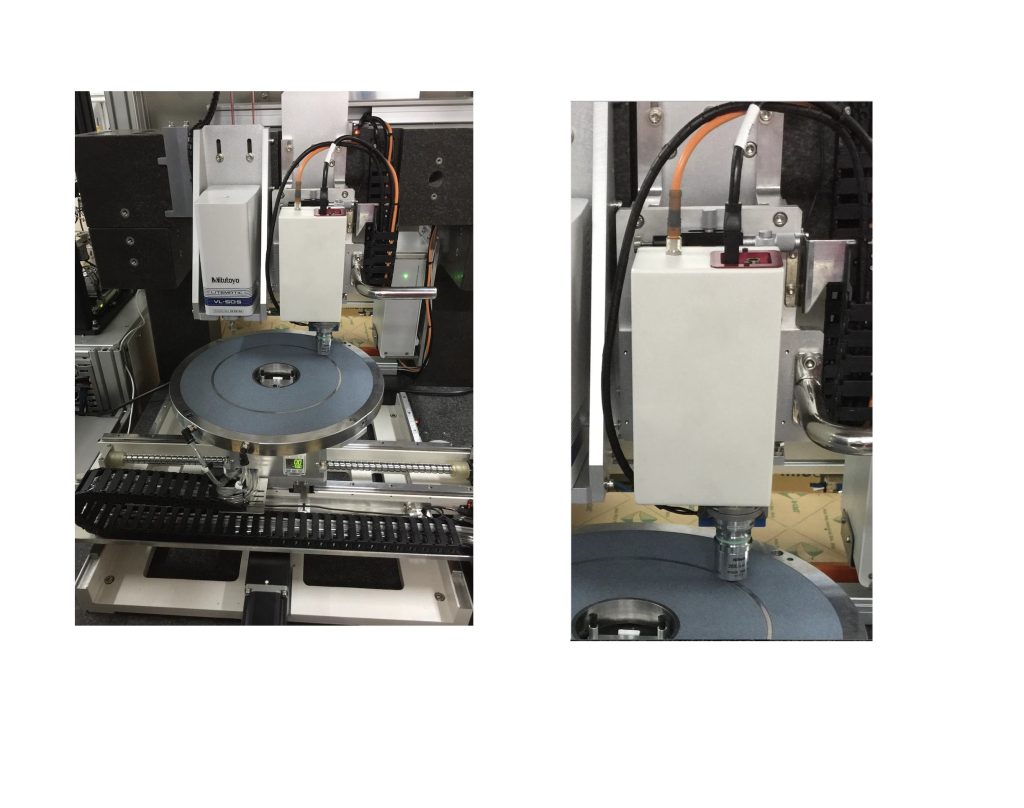
The white light interference head can be mounted on different mechanisms
Connect with the machine to perform various analyzes and measurements

Can be used with the original electric stage (optional)
Optional active anti-vibration table,Air-floating anti-vibration platform, anti-vibration damping platform

Can be integrated into various automated machines, and relevant SDKs can be opened for automation equipment integration

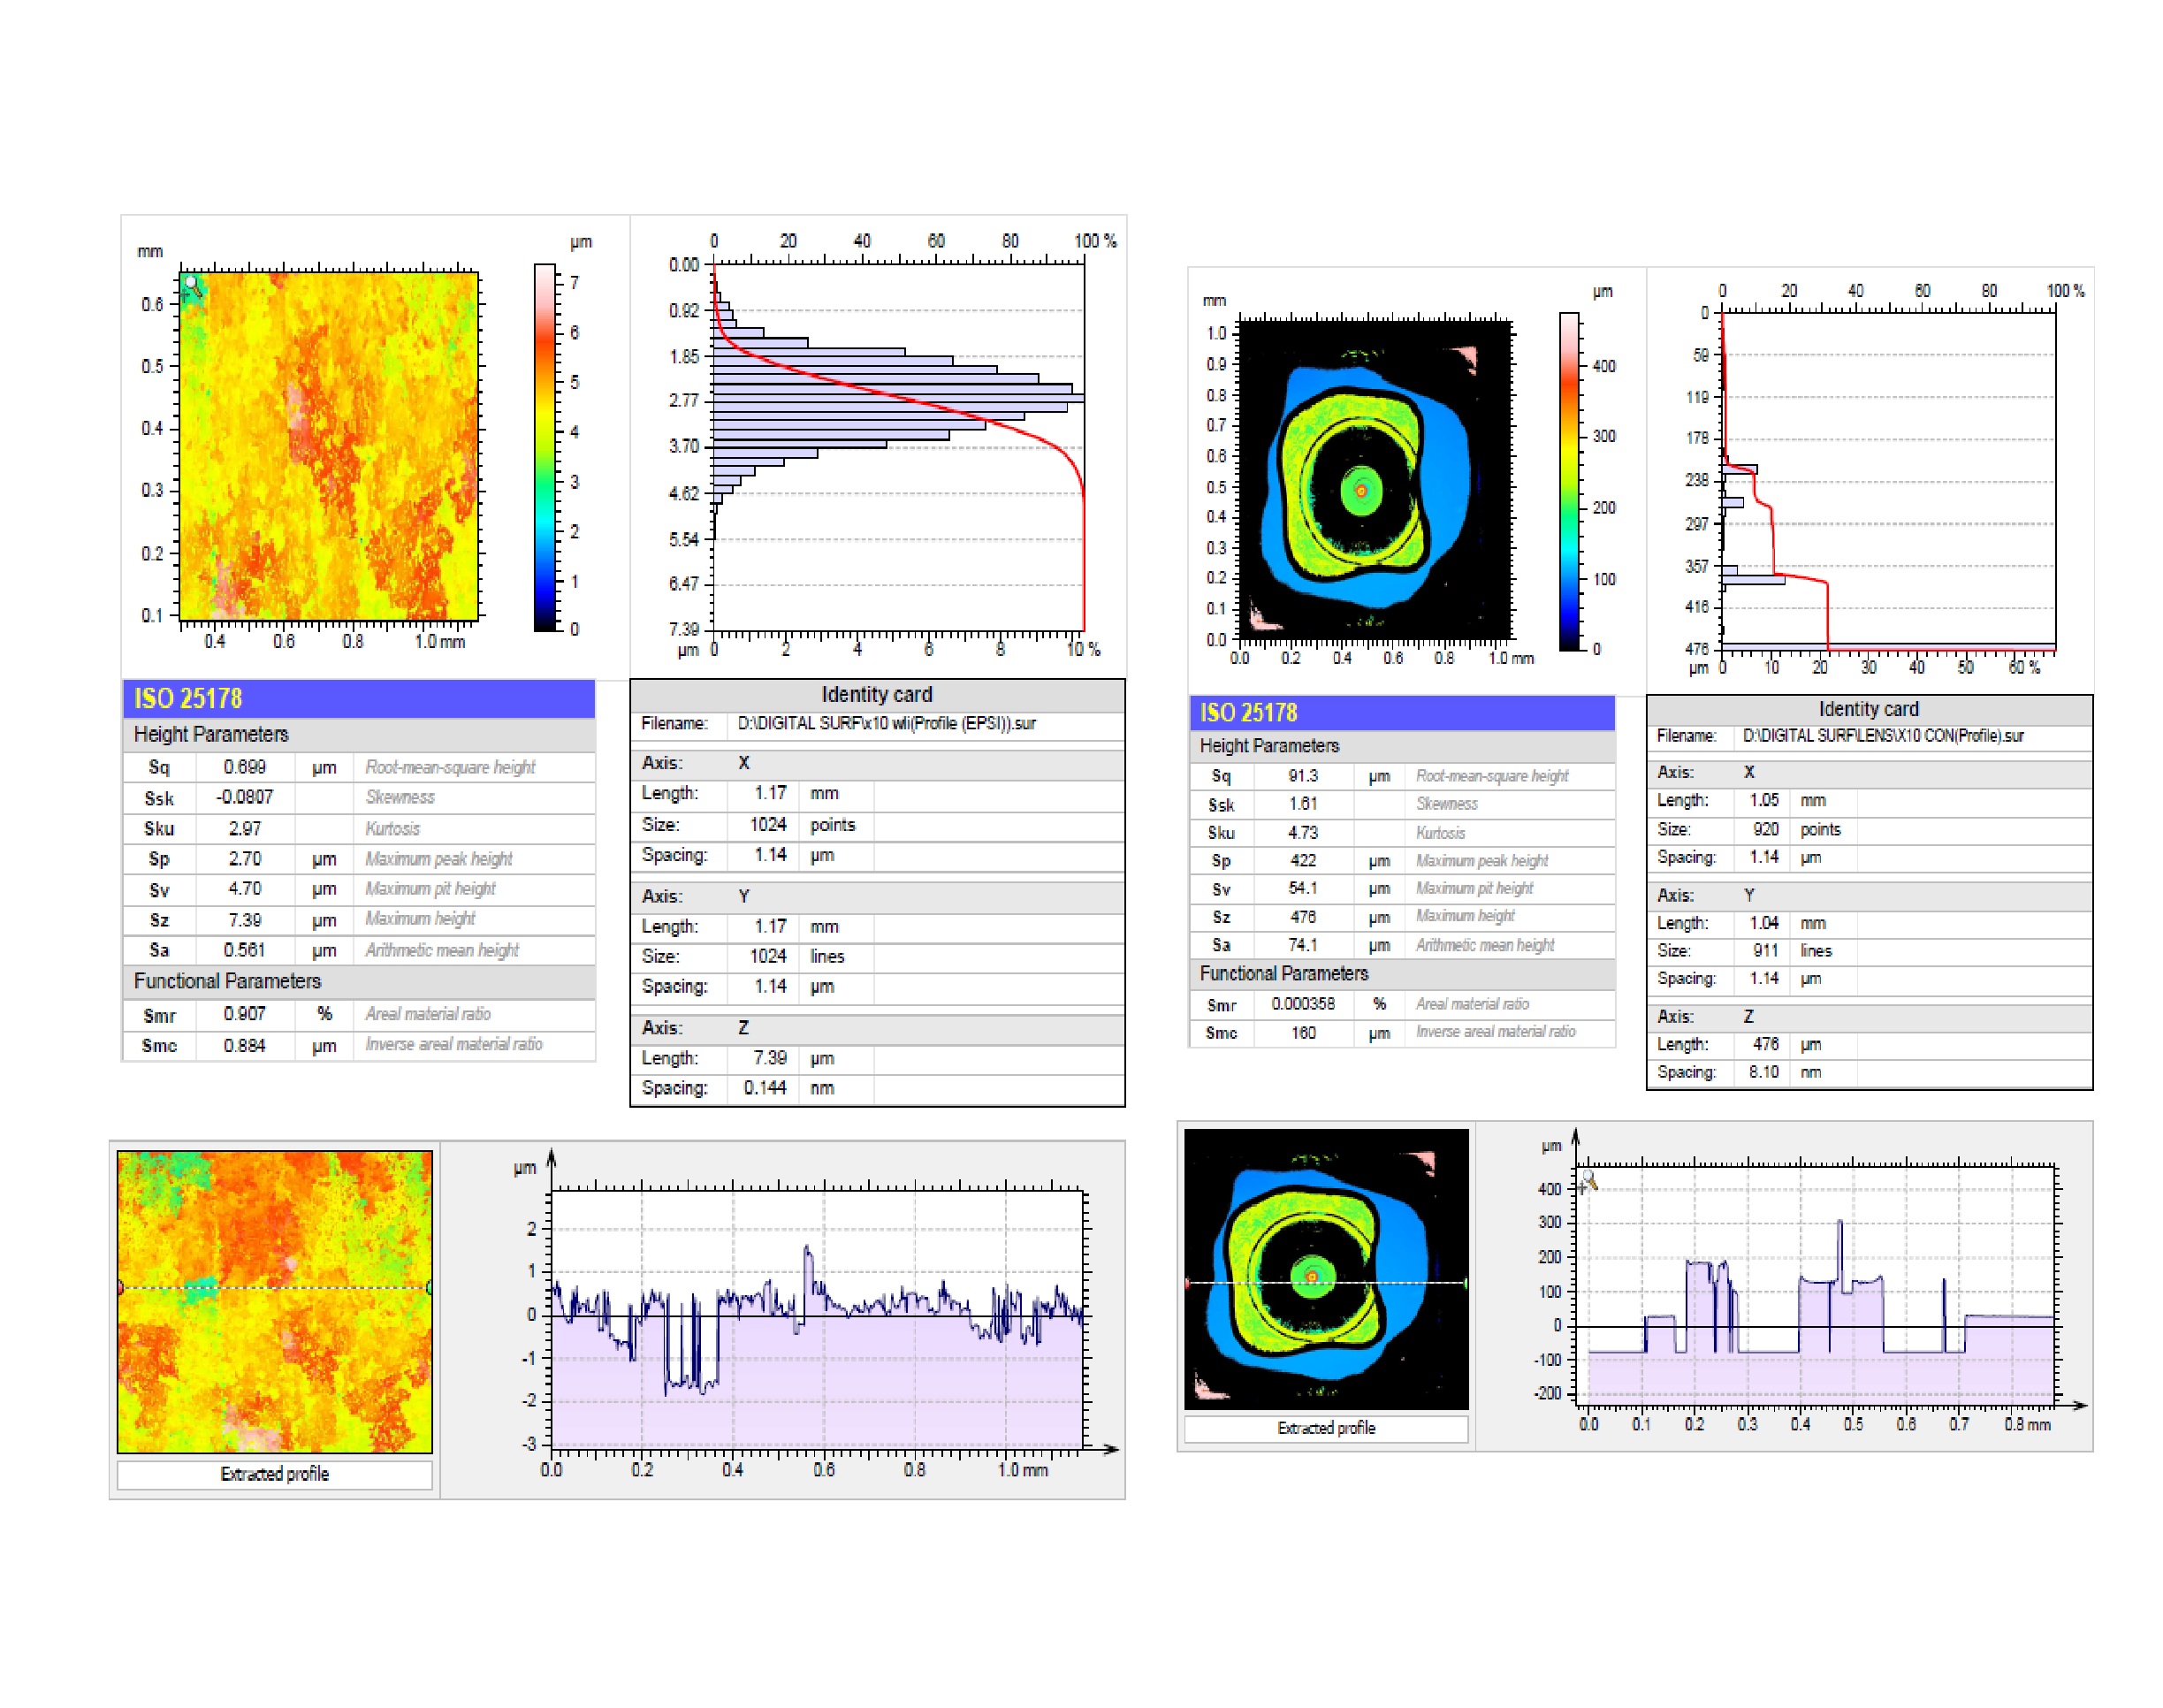
Export the scanned and synthesized report with one click;
3D image, 3D profile, automatic capture of the highest and lowest Z-axis surface structure heights, Sa surface roughness (or line roughness Ra)
Application areas:
Automated equipment development, providing software SDK for application integration
Bioengineering, semiconductor technology, optoelectronics technology, MEMS, optical manufacturing
Nanoengineering, steel, automobile, plastics, paper industry
Measurement items: incoming material inspection, production control, process improvement, quality inspection, fault analysis, R&D
- High-resolution 3D measurement of microstructures takes only seconds
- Can measure high and low reflection transparent materials
- Z-axis resolution can reach 1nm-0.1nm (depending on lens magnification)
- Features that can measure morphology: roughness, film thickness, height difference, 2D/3D profile, flatness, waviness, etc.

